I had a lot of fun with this painting, so I thought I would share:
Step 1:

I started with a mixture of blue and white to achieve the sky color. It was applied with a 2" brush in crisscross strokes and then smoothed out with side-to side strokes and with a small foam roller to remove brush strokes.
Step 2:

I mixed up a brown and white combination and used a pallette knife to spread it in the mountain peak shapes going downward and to the left. Then, I added a bit more brown to the mixture and made the peak shapes going in th opposite direction in order to generate the shadows.
Step 3:

Next, I used another blue and white combination that involved more white than before to create a water color. This was applied with a smaller brush and spread thinly to generate the irregular shoreline.
Step 4:

Using just a basic black and a fan brush, I tapped in the evergreen tree and bush shapes. Of course, at this juncture, the mountains and water area are completely dry so the paint didnt mix together.
Step 5:

I then mixed together some green and white paint to get this brighter green color. It actually turned out a bit brighter than I wanted, but in the end I really liked it. This was tapped onto the dry black shapes of the trees. Then, I added some basic brown to highlight the tree trunks and applied a mixture of brown and yellow ochre to create the grass under the mountains.
Step 6:
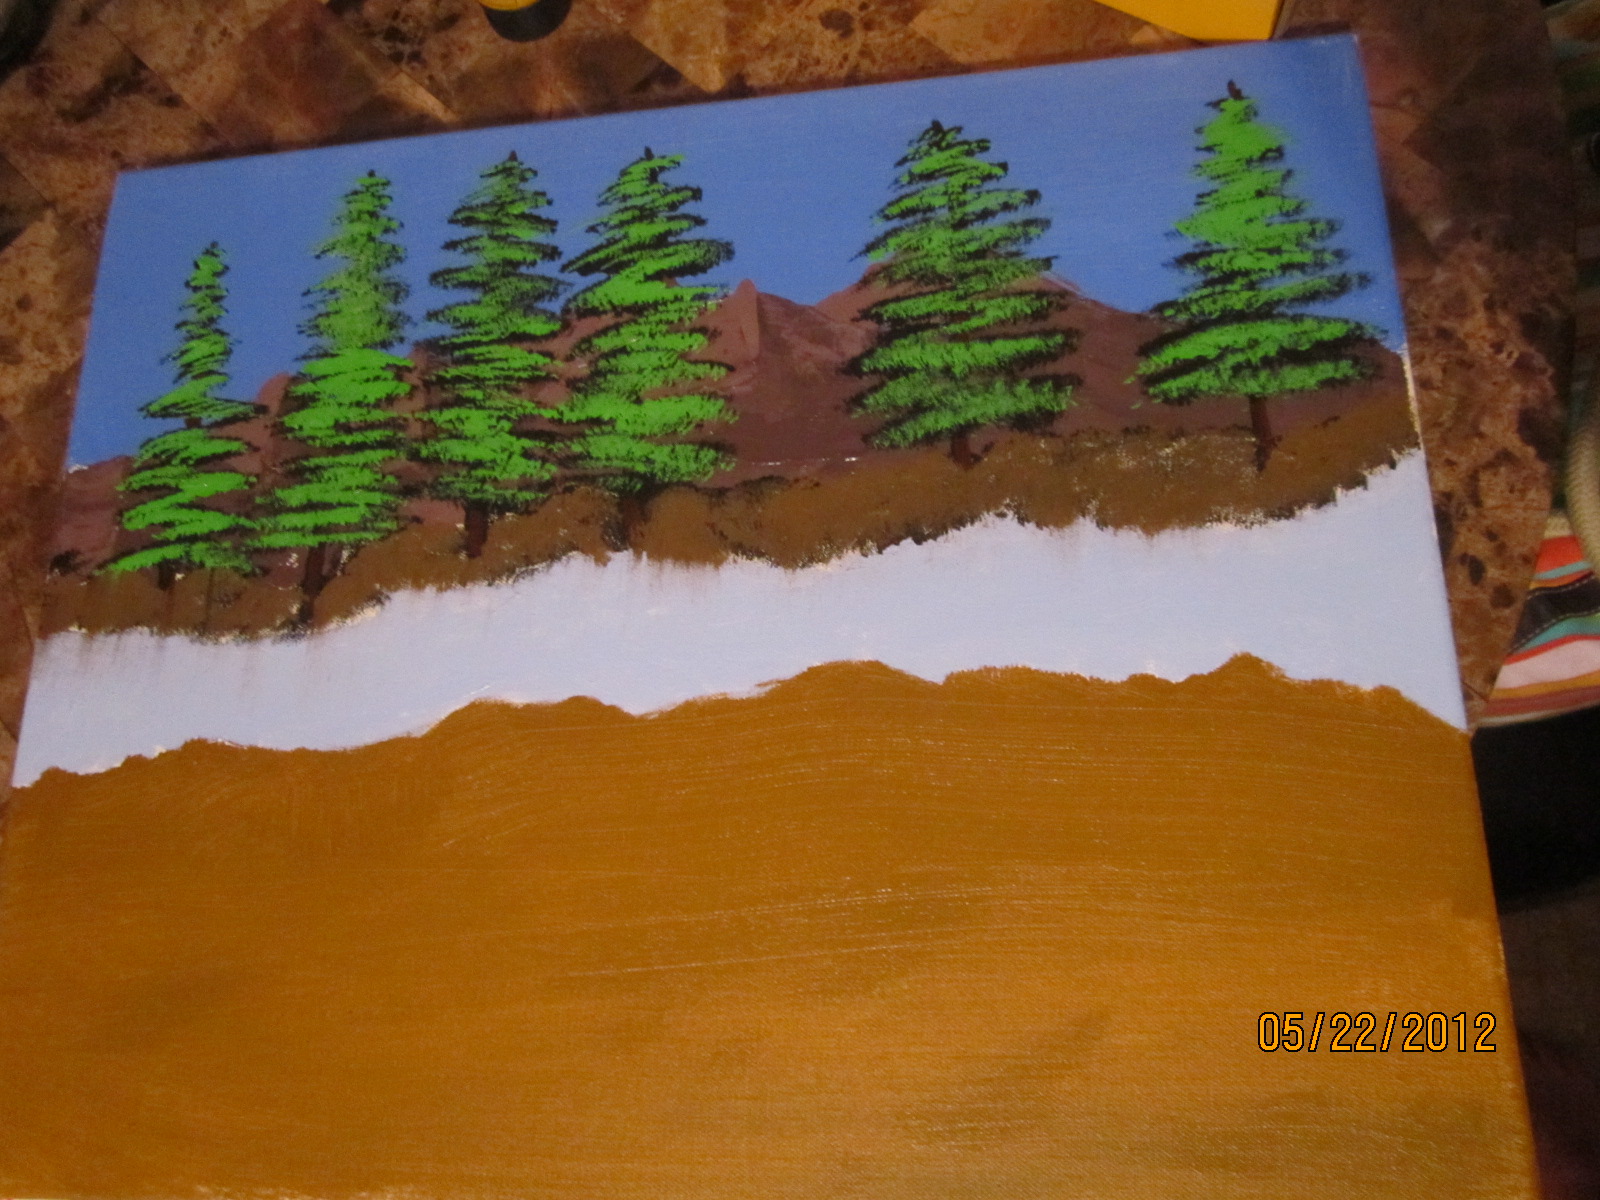
Using a brighter mixture of brown and yellow ochre, I created a dirt-color for the bottom half of the painting. It was applied with the same brush I used on creating the water area and spread across with the 2" brush.
Step 7:

I googled a nice barn image and sketched it lightly onto the canvas with pencil. Using my pallette knife, I added in the basic red shape. I added a touch of brown to my red and added the weathered roof, also using the knife. When the reds had dried, I added the white parts and fence freehand with a small brush.
Step 8:
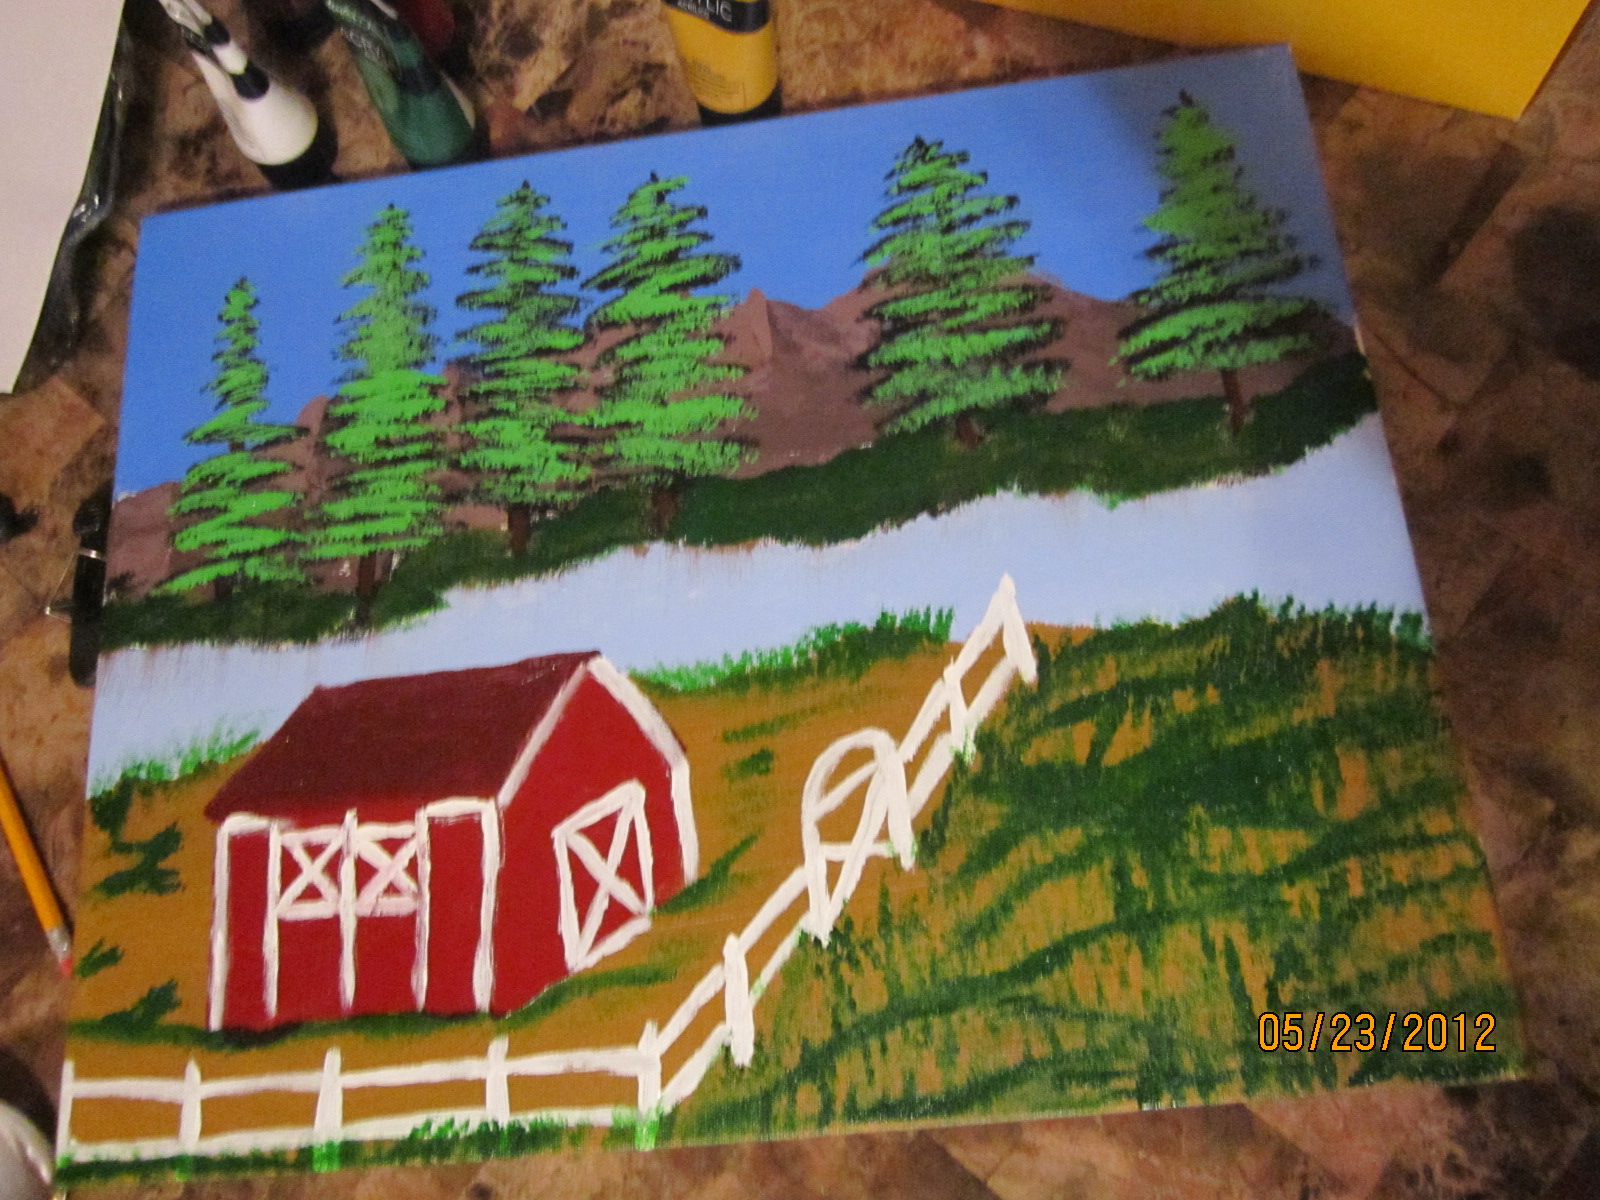
Using a basic green and my fan brush, I filled in the grassy area underneath the pine trees and slightly tapped into the barn area. Then I added more green to the outside ground area, as well as freehanding more of a white outline onto the barn itself.
Completion:

Using the same green and the fan brush, I finished coloring in the grassy area on the right side and darkened up a couple of patches inside the fenced area. The picture now just needs a signature to be complete.
posted by Voyager at 9:59 PM
0 comments
![]()

